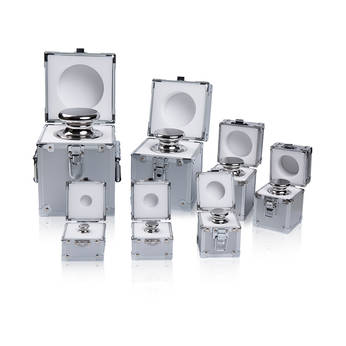
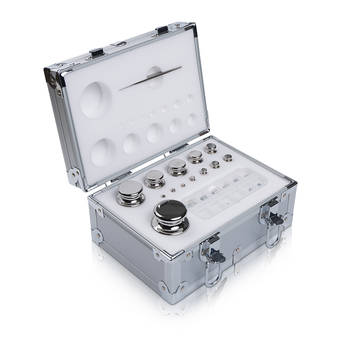
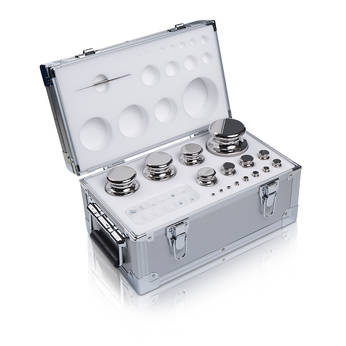
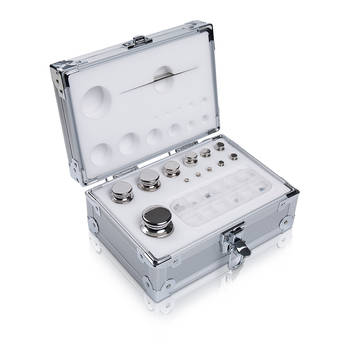
Tolerance levels for industrial test weights are determined based on precision requirements and are typically established according to industry standards and calibration procedures. Here's an overview of how tolerance levels are determined and maintained during calibration:
Industry Standards:
Tolerance levels for industrial test weights are often determined in accordance with established industry standards. These standards may be set by organizations such as the International Organization of Legal Metrology (OIML) or the National Institute of Standards and Technology (NIST).
Classifications and Accuracy Classes:
Industrial test weights are categorized into different accuracy classes or classifications based on their precision. Common classes include E1, E2, F1, F2, M1, M2, and M3. Each class corresponds to a specific level of accuracy, and the tolerance levels are defined within these classes.
Calibration Procedures:
Calibration procedures specify the process of comparing the actual weight of the test weight against a reference standard of higher accuracy. During calibration, the test weight is subjected to known loads, and its deviation from the standard is measured.
Measurement Uncertainty:
The measurement uncertainty is an important factor in determining tolerance levels. It represents the range within which the true value of the weight is expected to lie. Calibration laboratories assess and report measurement uncertainty to provide a comprehensive understanding of the test weight's accuracy.
Nominal Value and Deviation:
The nominal value of a test weight is its specified mass, and the deviation is the difference between the measured value and the nominal value. Tolerance is often expressed as a percentage of the nominal value.
Tolerance Specifications:
Tolerance specifications for each accuracy class are clearly defined in standards. For example, an E1 class weight may have a tolerance of ±0.01% of its nominal value, while an M2 class weight might have a tolerance of ±0.02%.
Adjustment and Correction:
During calibration, if a test weight is found to deviate beyond the acceptable tolerance limits, adjustments may be made to bring it back into compliance. Adjustments may involve adding or removing material to achieve the desired mass.
Regular Calibration Intervals:
To ensure that test weights maintain their accuracy over time, they need to be recalibrated at regular intervals. The frequency of calibration depends on factors such as usage, environmental conditions, and the required level of precision.
Traceability:
Traceability is a key element in maintaining tolerance levels. Calibration laboratories ensure traceability by comparing the test weight to a standard that is directly traceable to national or international standards, establishing a clear chain of measurement.
Record-Keeping:
Accurate records of calibration results, adjustments, and any maintenance activities are crucial. These records help track the performance of test weights over time and provide a basis for decision-making regarding further adjustments or replacements.


 English
