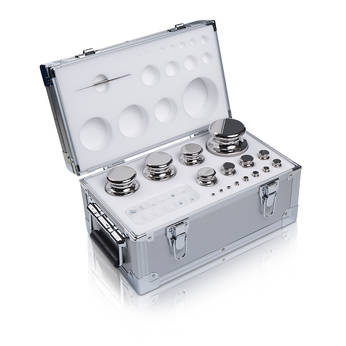
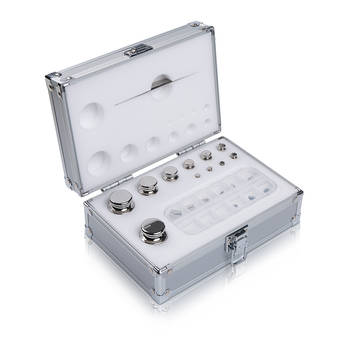
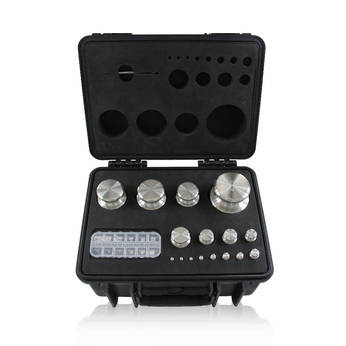
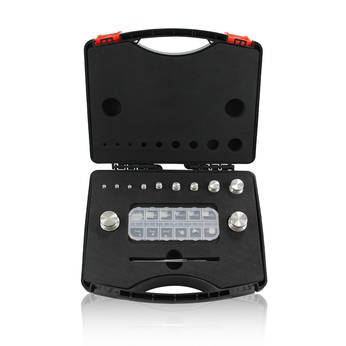
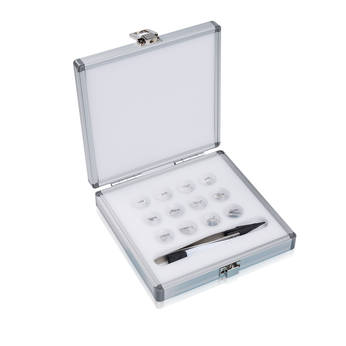
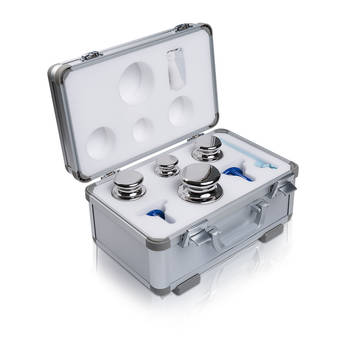
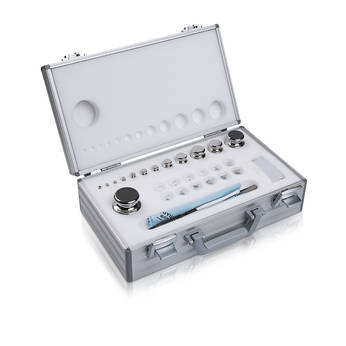
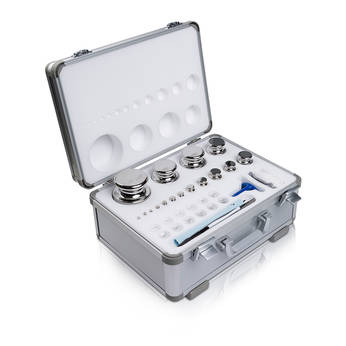
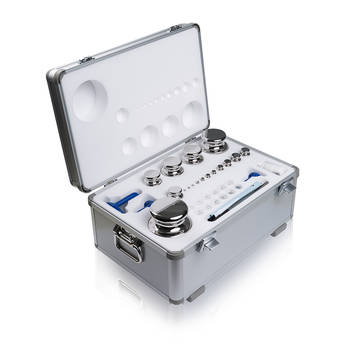
In the fields of modern industrial production, scientific research experiments and commercial trade, the accuracy of metrological calibration and precision weighing systems is directly related to product quality, the reliability of experimental data and the fairness of economic transactions. In order to ensure the accuracy of these systems, Basic Series Test Weight has become an indispensable standard tool. As a representative of standard quality, Basic Series Test Weight plays the core role of "value transfer" in the process of metrological calibration, and its design and use process directly affect the accuracy and reliability of weighing equipment.
1. Definition and function of Basic Series Test Weight
Basic Series Test Weight usually refers to standard weights that meet international or national standards (such as OIML, ASTM, ISO or China JJG 99 specification), which are manufactured and classified according to different accuracy levels (such as E1, E2, F1, F2, M1, etc.), and are suitable for regular calibration or performance testing of balances, electronic scales, measuring instruments, etc. They are used as physical quantity standards of "known mass" to compare, correct or verify the weighing readings of the equipment under test.
2. Mechanisms to ensure measurement accuracy
1. High-precision manufacturing ensures stable quality
Basic Series Test Weights are usually made of stainless steel or special alloy materials, which have the characteristics of high density, corrosion resistance, and anti-magnetism. High-precision processing technology ensures that the weight surface is smooth, the shape is regular, and the weight is uniform, thereby minimizing the influence of air buoyancy error and surface attached particles on weighing. For example, the error of E2-level weights can be controlled within ±0.003 mg, which is very suitable for the calibration of high-precision analytical balances.
2. Traceability ensures measurement consistency
All high-quality Basic Series Test Weights are traceable, that is, their mass values can be traced back to national or international metrological standards. This traceability system is the basis for ensuring measurement consistency between various weighing systems. Through regular inspection and calibration, weights can obtain calibration certificates issued by authoritative organizations to prove the legitimacy and accuracy of their values, which provides a unified and reliable quality benchmark for laboratories, manufacturers, and inspection agencies.

3. Multi-point calibration improves the linear accuracy of equipment
In precision weighing systems, in order to verify the accuracy of the equipment within the entire range, multiple sets of Basic Series Test Weights of different weights are usually used for calibration. For example, when calibrating a 0-5000g electronic scale, 500g, 1000g, 2000g, and 5000g weights can be used for step-by-step calibration to determine whether there is a systematic error or linear deviation in the low, medium, and high ranges of the weighing equipment. Through this multi-point calibration method, the deviation of the weighing system within a certain range can be discovered in time, and corrections or maintenance can be made to ensure the reliability of the overall measurement results.
III. Key role in application scenarios
1. Laboratory precision analysis
In high-demand experiments such as chemistry, biology, and pharmaceuticals, analytical balances are often used to weigh trace reagents or samples. If qualified Basic Series Test Weights are not used for regular calibration, any slight error may cause distortion of the experimental results. By using high-grade weights (such as E1 or E2), the high consistency of weighing results can be ensured, supporting data repeatability and scientific research reliability.
2. Industrial manufacturing and automation equipment
In the processes of automated packaging, raw material feeding, quality inspection, etc., the weighing system is the core link of quality control. The regular calibration of Basic Series Test Weight in these systems not only improves product consistency, but also reduces production losses or customer complaints caused by equipment errors through preventive maintenance.
3. Trade measurement and government supervision
Commercial electronic scales, gas dispensers, batch weighing systems, etc. must be regularly calibrated by the metrology and inspection department. Basic Series Test Weight is used as a standard reference to ensure fair and just transactions. Only equipment that has been calibrated by these standard weights can operate legally in the market.
Basic Series Test Weight plays the role of a "benchmark pillar" in metrology calibration and precision weighing systems. Through high-precision manufacturing, authoritative calibration and traceability, it ensures the measurement accuracy and stability of weighing equipment in various application scenarios. Whether it is the accuracy of scientific research data, or the fairness of industrial process control and commercial transactions, Basic Series Test Weight is an important tool for achieving "precise measurement and scientific management". With the development of precision metrology technology, standard weights will continue to upgrade to meet the calibration needs of higher precision and intelligence.

 English
